Here are the detailed instructions for making a fabric mask with a filter pocket! Following these steps, we were able to create more than 100 fabric masks for our community during the COVID-19 closure. Why did we make these? It is believed that a fabric mask may play a role reducing the spread of the virus in the community. We wanted to do our part in helping to “flatten the curve”.
Please note that fabric masks are not equivalent to surgical or N-95 masks, and they are not a substitute for social distancing or proper hand hygiene. We strongly encourage you to follow the Government of Canada’s recommendations on the proper use of any fabric mask.
Tools you'll need
scissors
ruler
sewing machine (needle and thread)
clips
iron & ironing board
fabric marker pen
Fabric mask components
Four 18” x 1 ½” strips
Front piece (100% cotton; 9” x 7 ½”)
Back piece (100% cotton; 9” x 6 ½”)
We’re making a mask that’s white at the front.
Some General Tips First!
Always backstitch.
Choose different fabric patterns for the front and back of the mask to easily tell them apart.
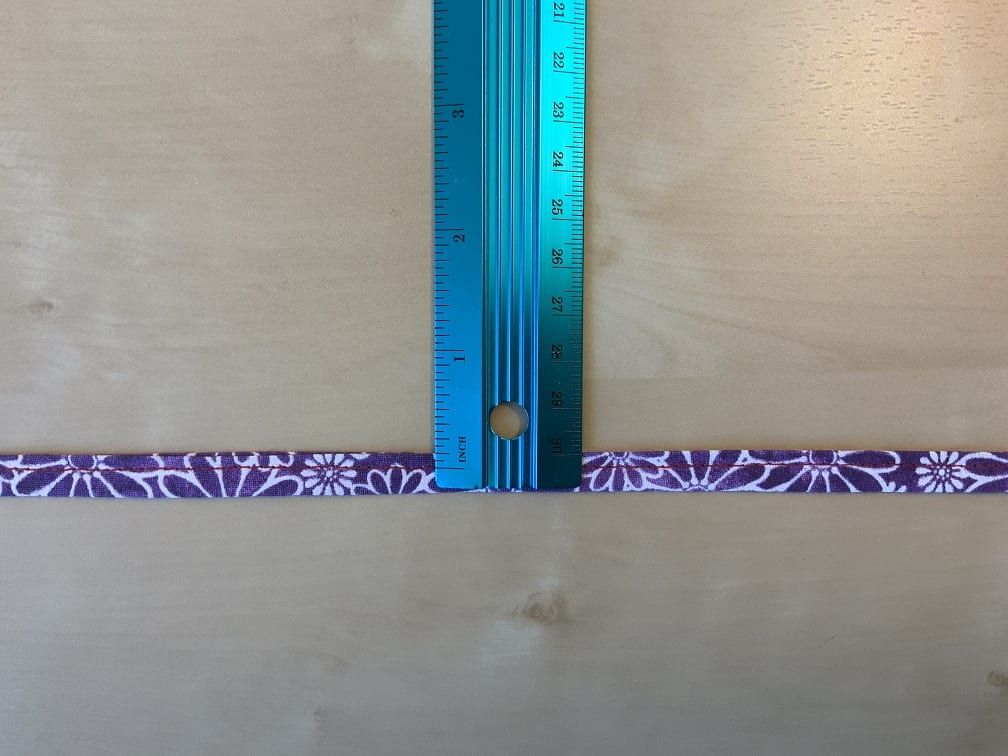
To make your own ties from fabric:
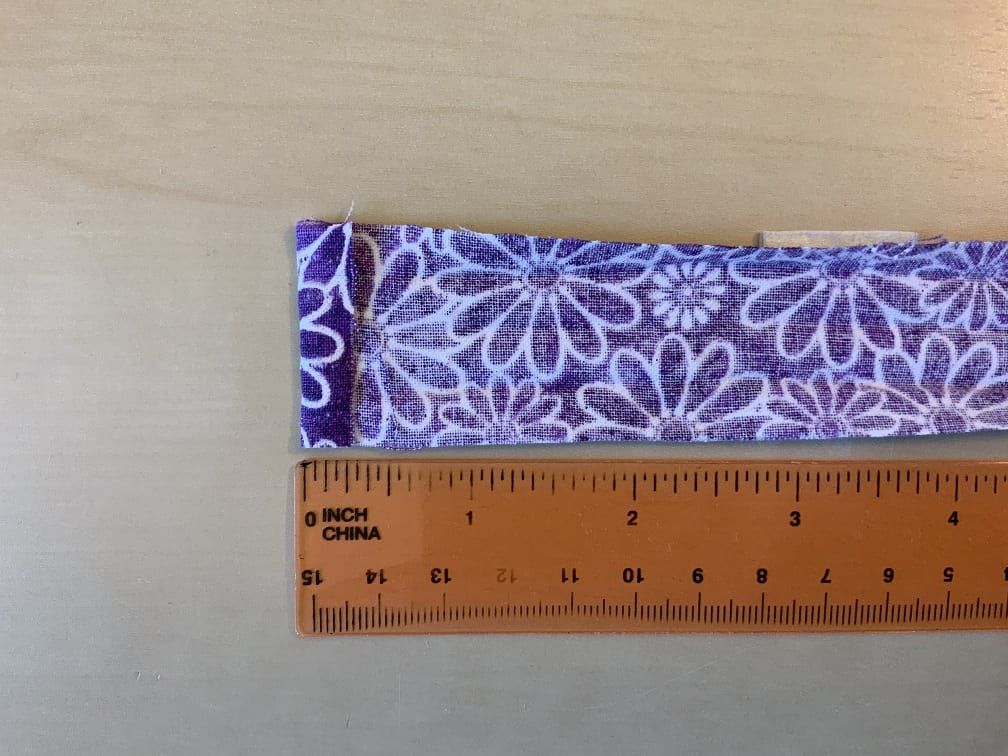
You’ll need 4 pieces of fabric like this (~18” x 1 ½”)
Fold ¼” on one side and iron flat to create a finished end (that won’t fray).
Fold both long sides towards the centre, and iron flat.
Fold in half to encase the raw edges. Iron flat.
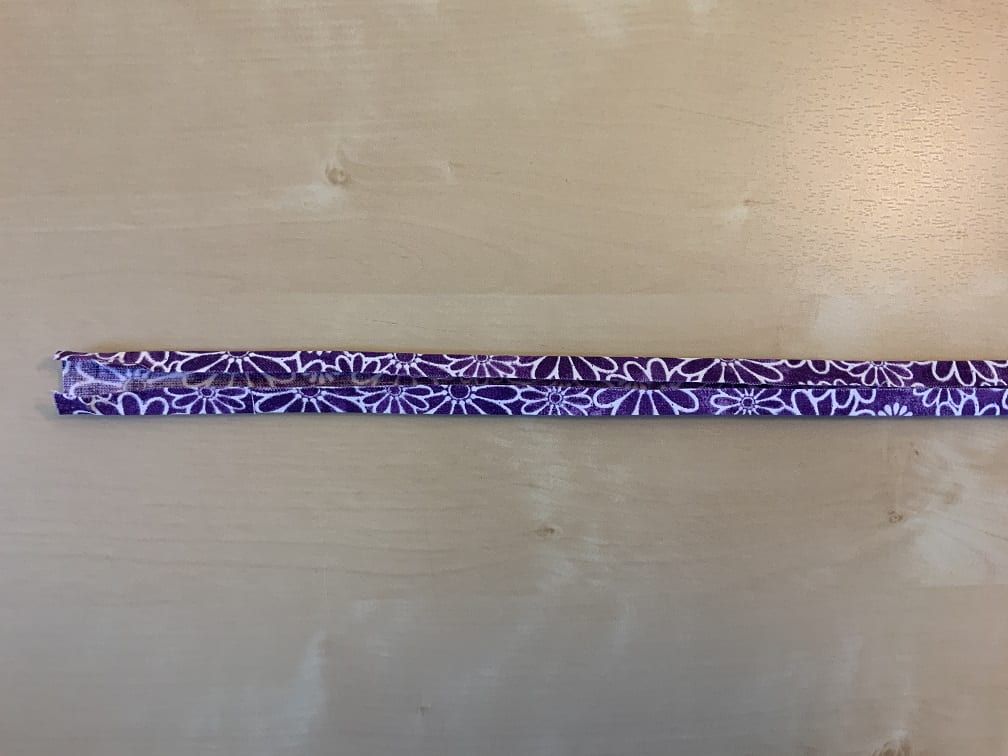
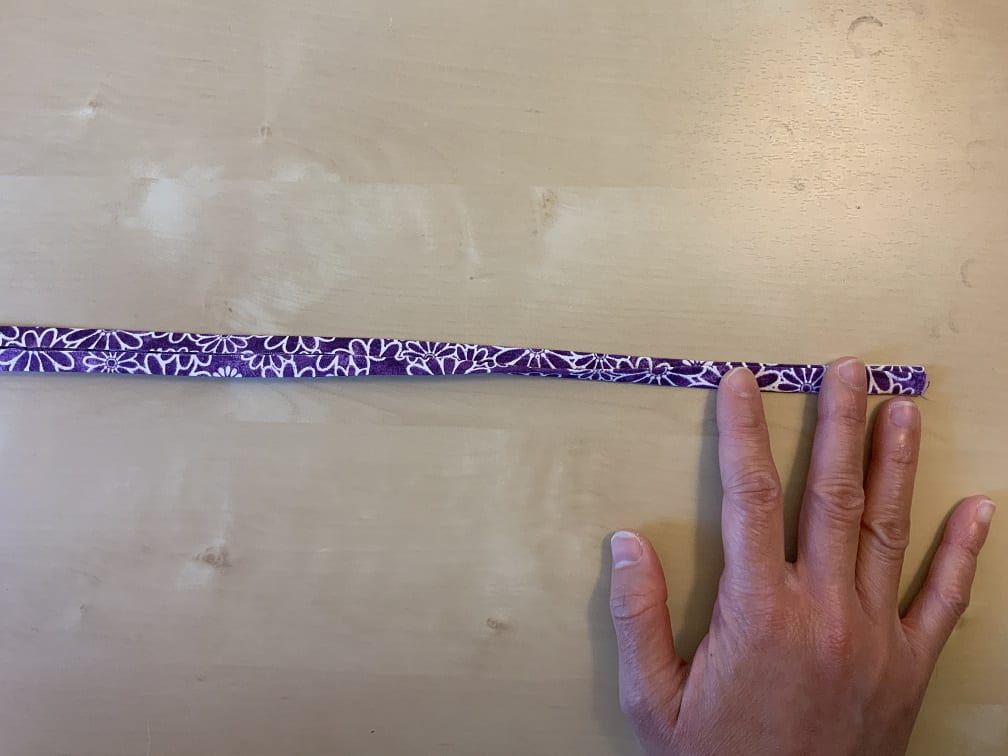
Once ironed, it should look like this.
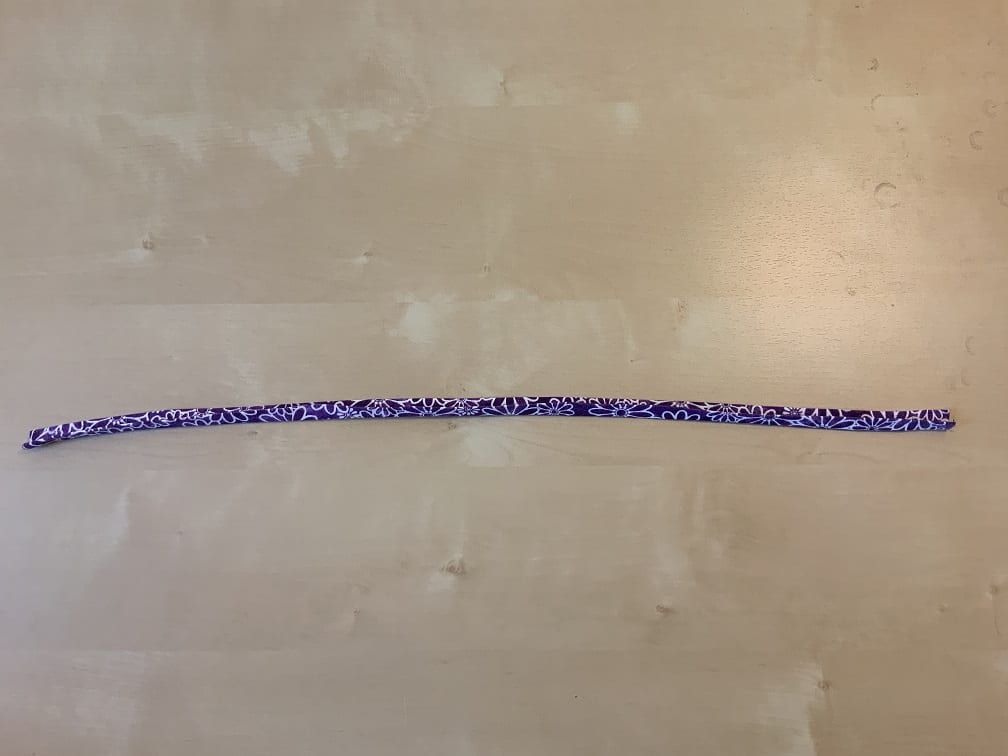
Sew a straight line down the entire length of the strip (~1/8” from the edge). You’ve completed one tie! You’ll need four of these.
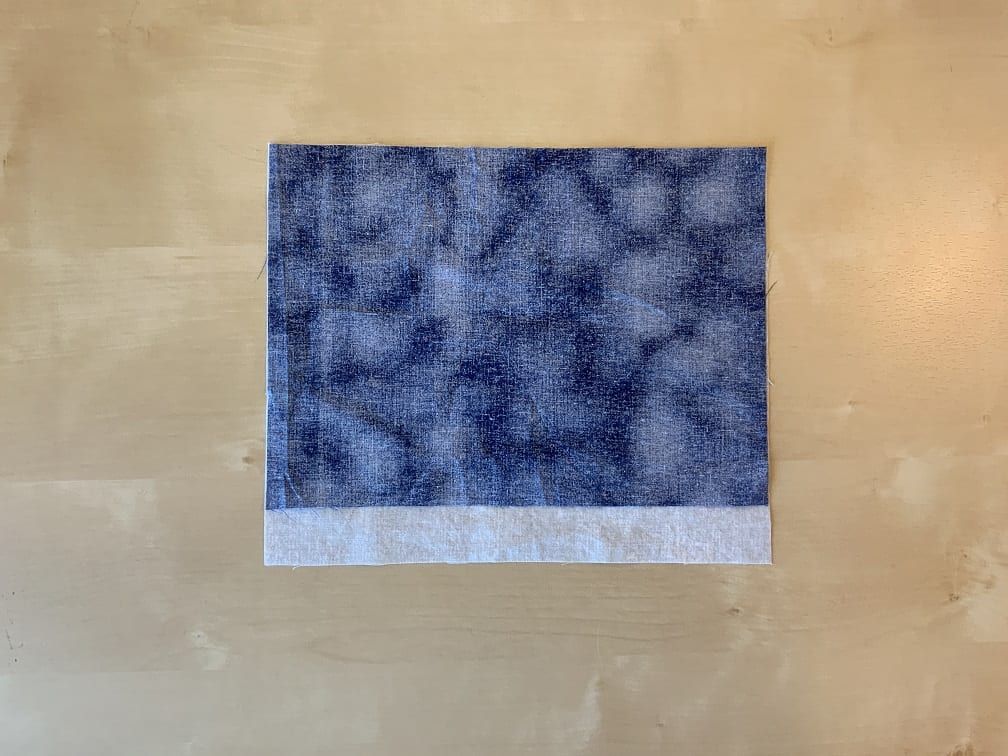
Assemble the fabric components
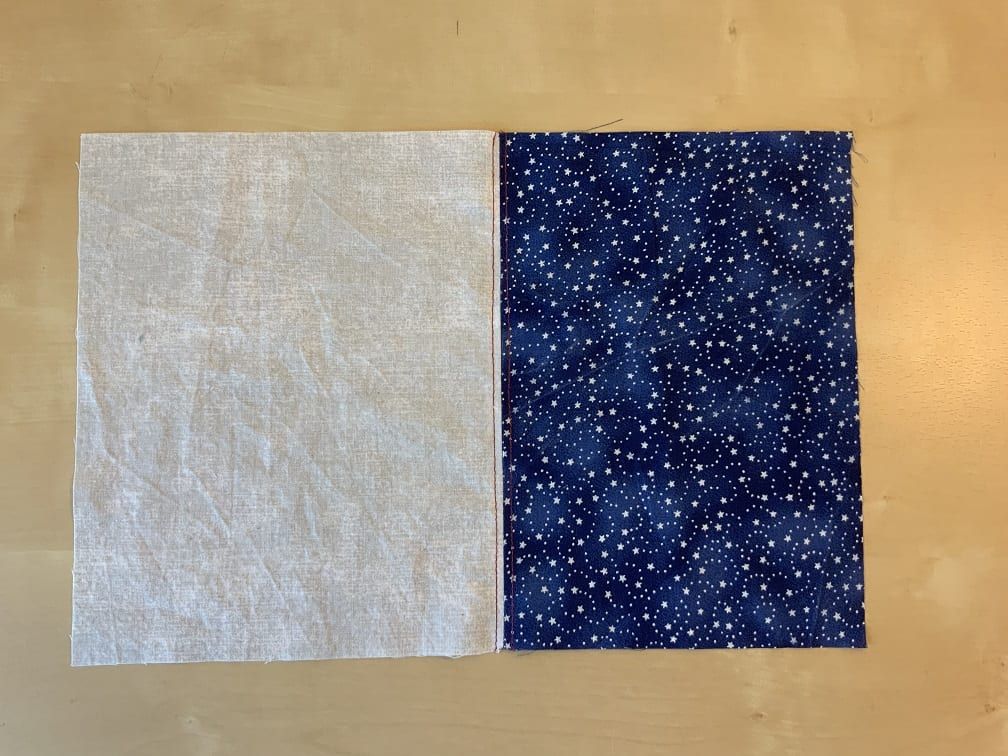
Line up one long edge of the two pieces of fabric.
IMPORTANT: The patterned sides of the fabric should be facing each other.
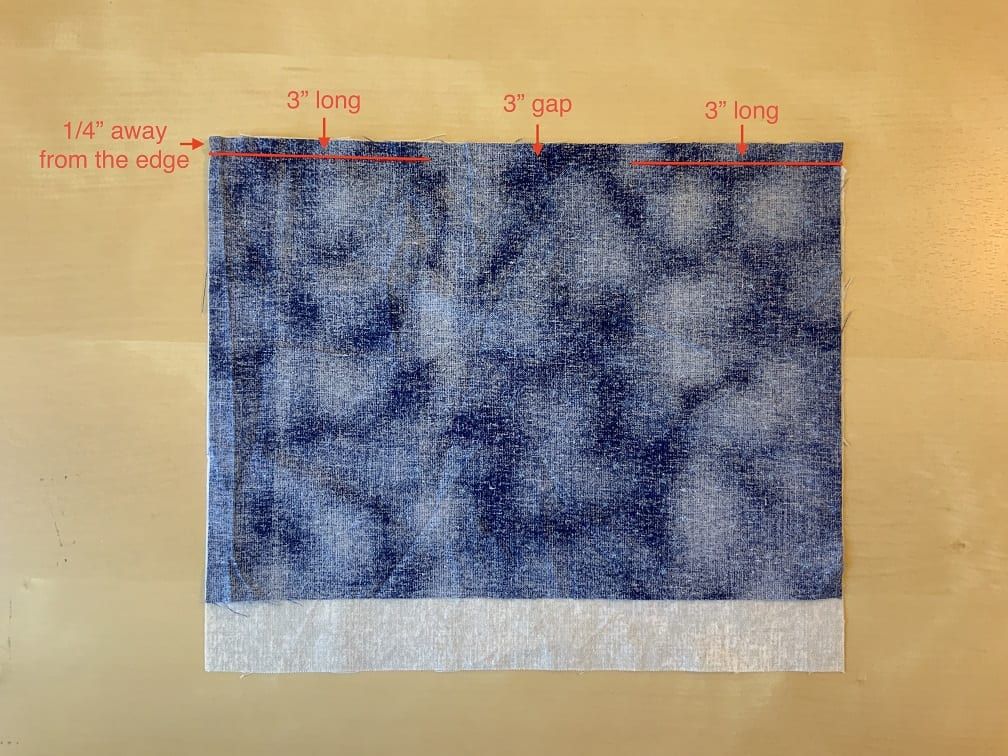
Sew two 3” lines about ¼” away from the lined-up edge. Leave a 3” gap between the lines.
Optional: Iron open the seam and sew straight down the middle of each of the two flaps. This increases durability!
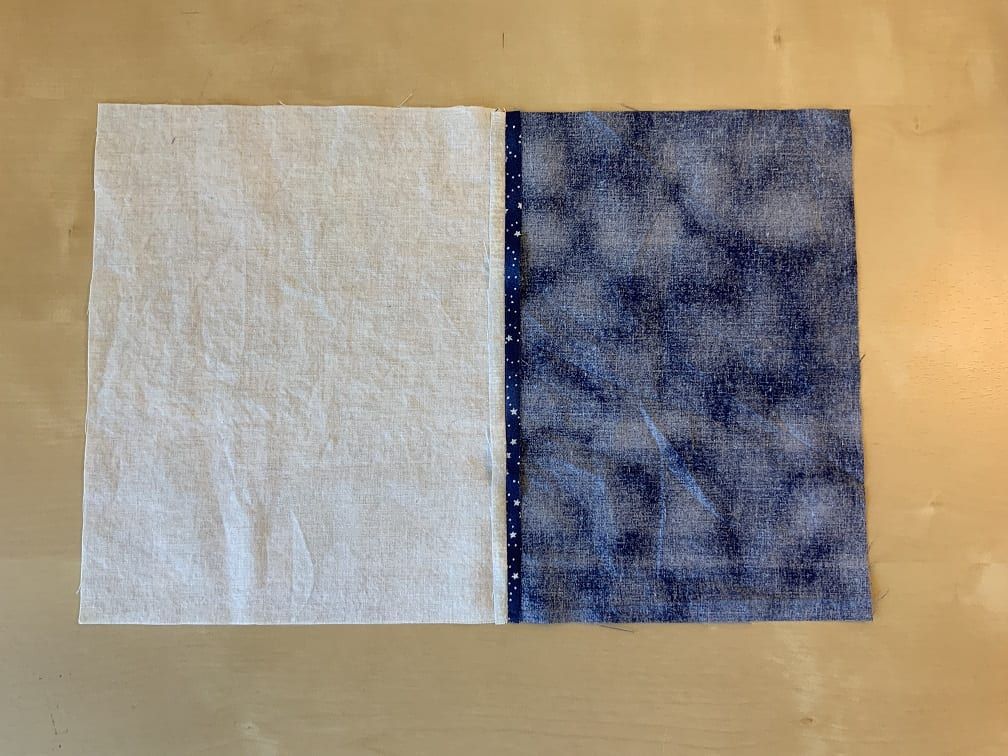
It should look like this on the patterned side.
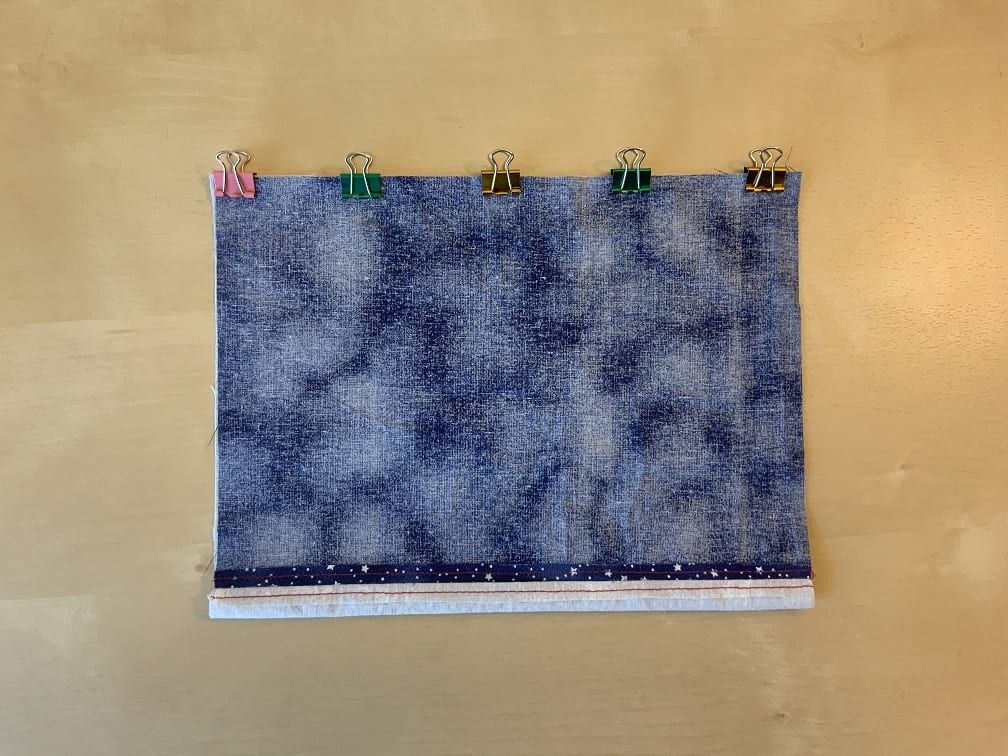
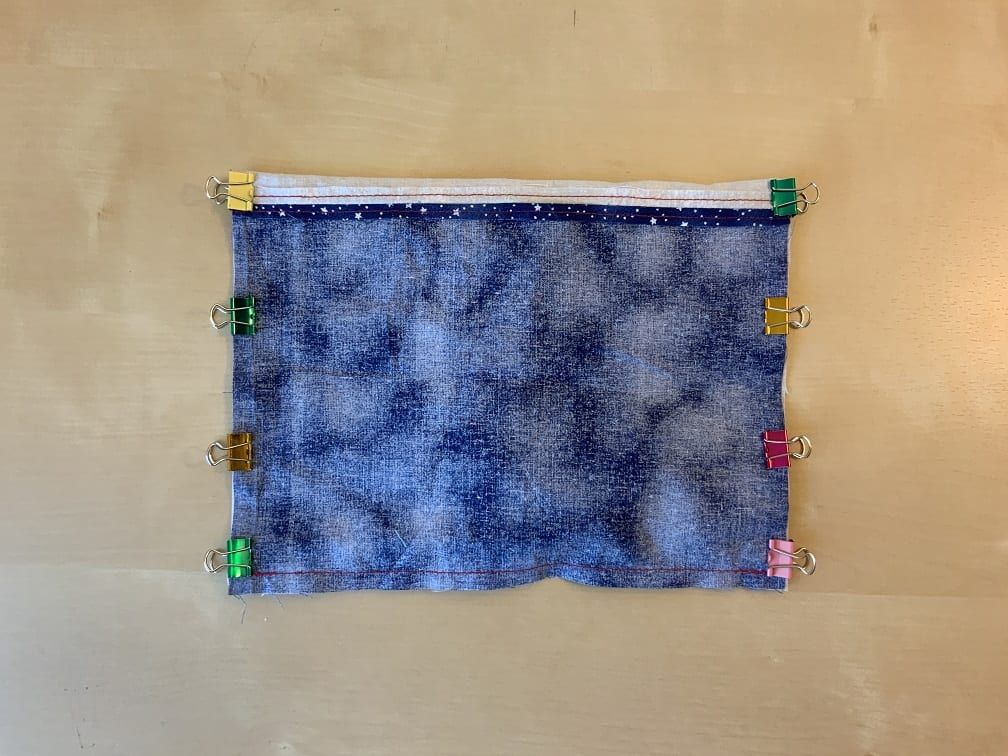
Line up and clip the other long edge with the patterned sides of the fabric facing together.
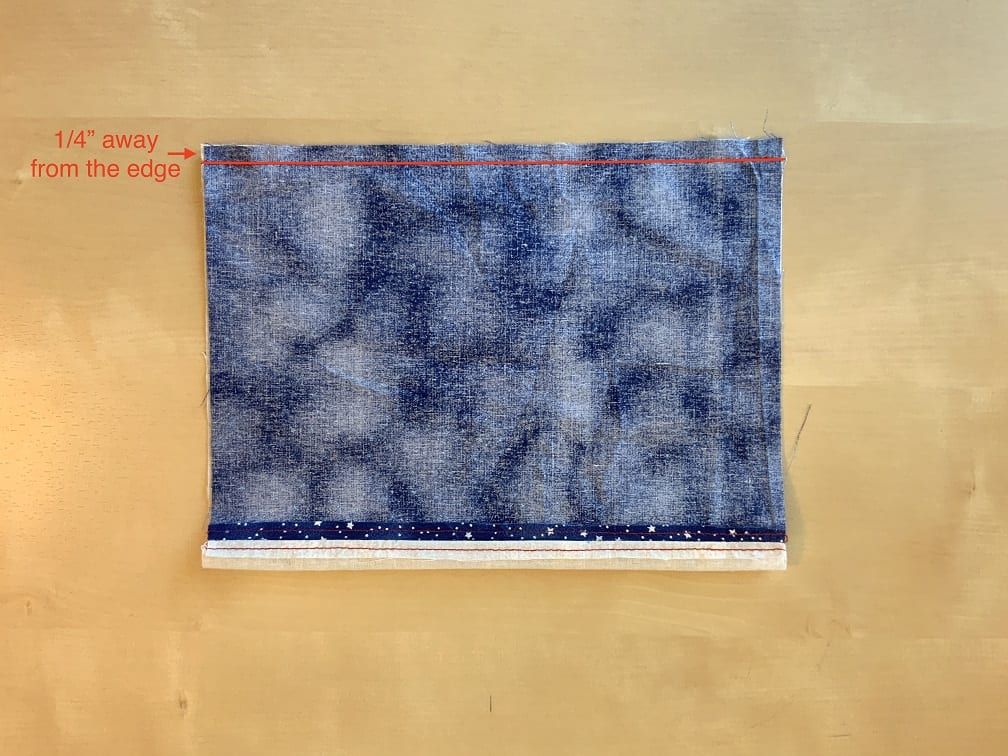
Sew a line ¼” away from this edge all the way across.
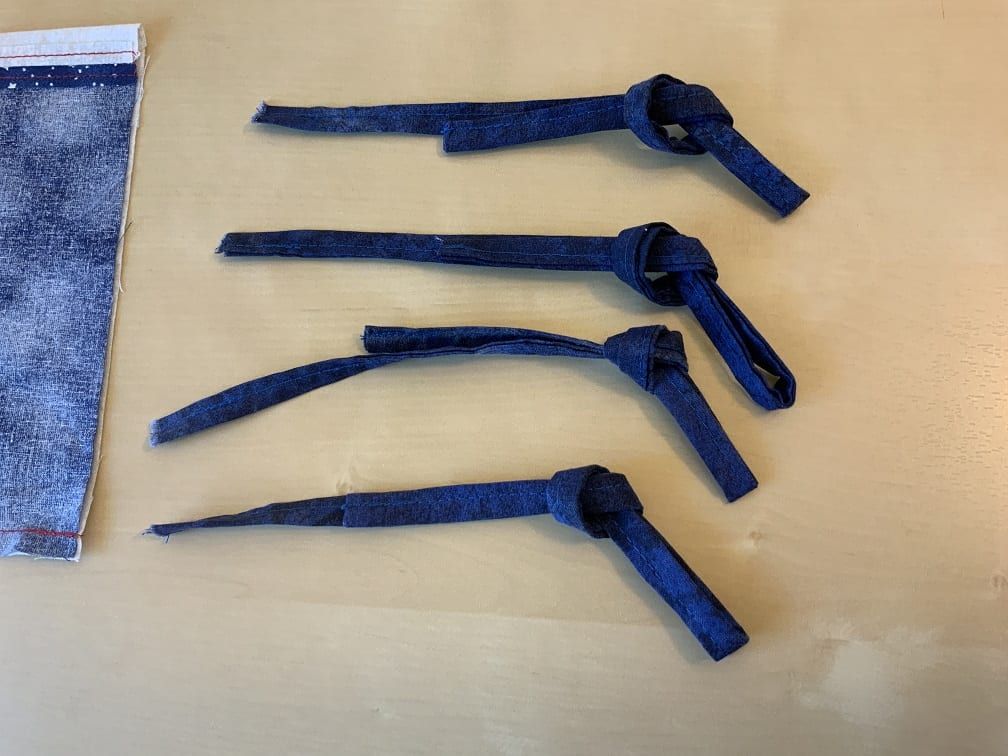
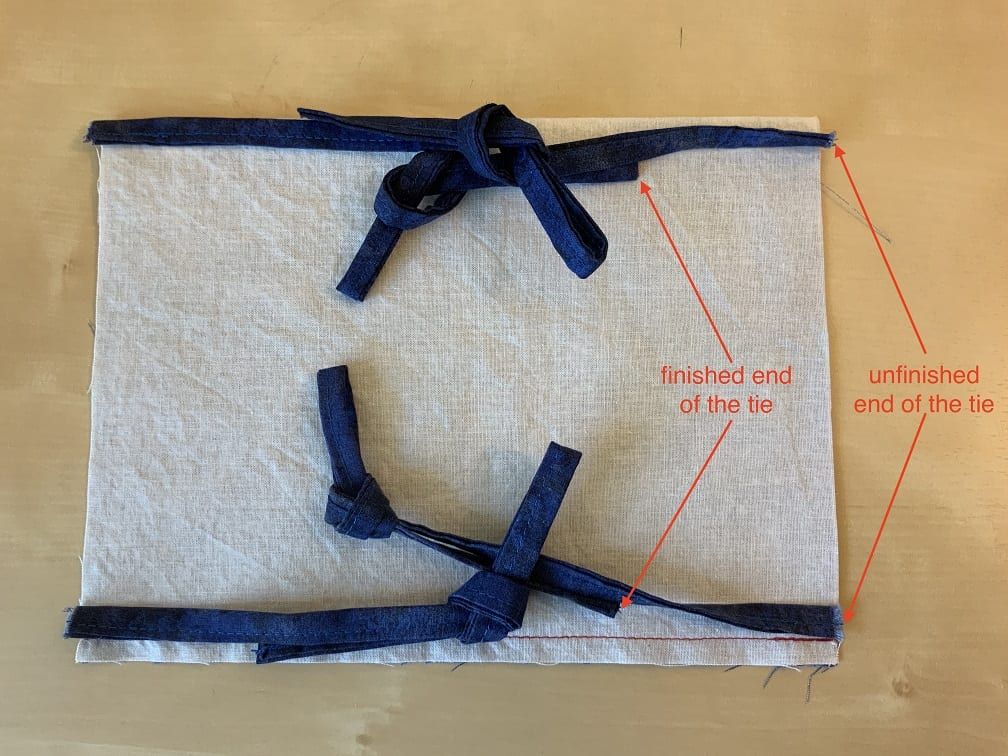
Knot each tie on itself to shorten it.
Line up and clip the unfinished end of the tie to each of the four corners on the inside. Position the ties so that they are not visible from the outside.
For illustrative purposes only, the ties in the photo are placed on top of the fabric so you can see how they should be aligned at the corners.
Do NOT place your ties above the fabric. They need to be inside, as shown before.
It should look like this.
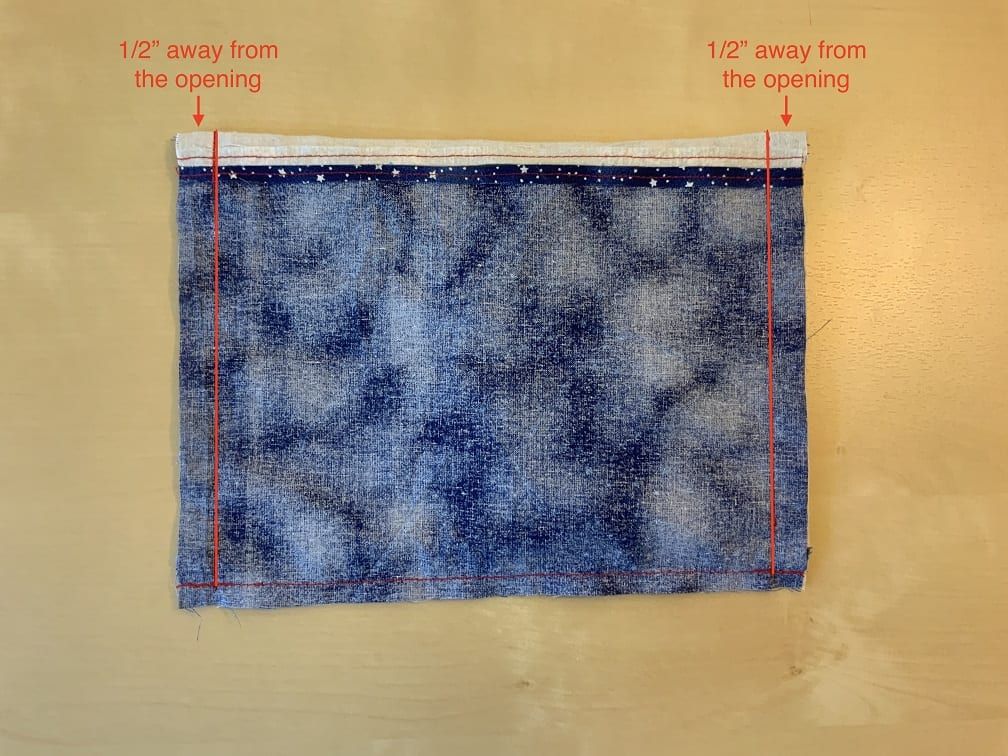
Sew two lines that are ½” away from the open edges. Tip: If you are using a machine, sew slowly, and manually turn the wheel due to the added thickness of the ties.
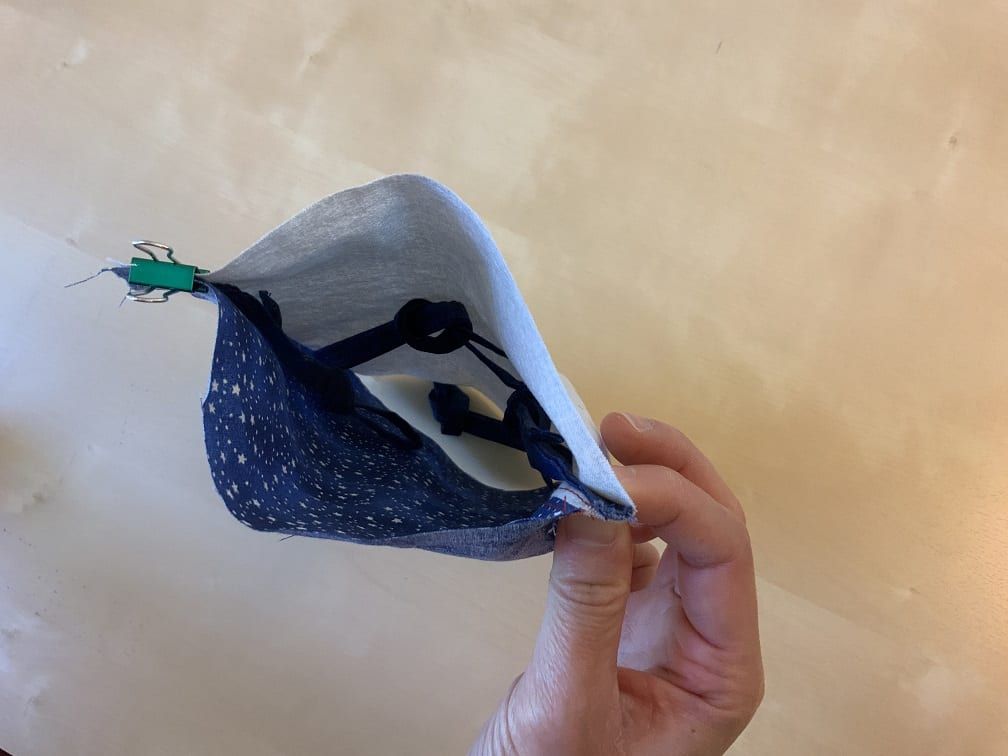
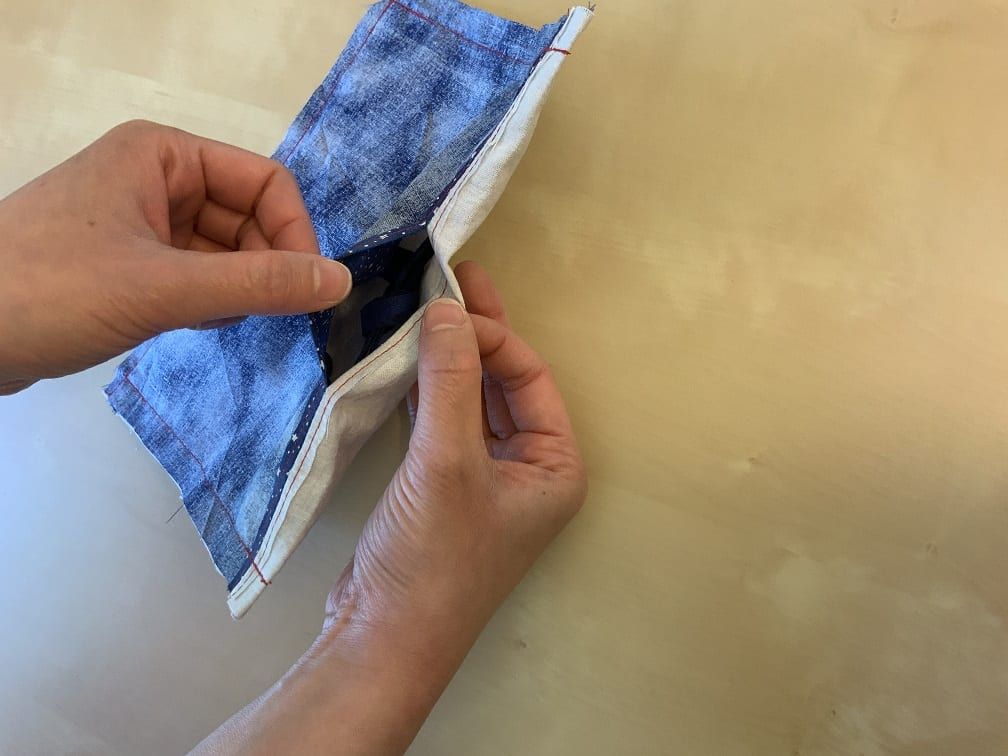
Flip the package inside out through the 3” gap between the two 3” long stitch lines.
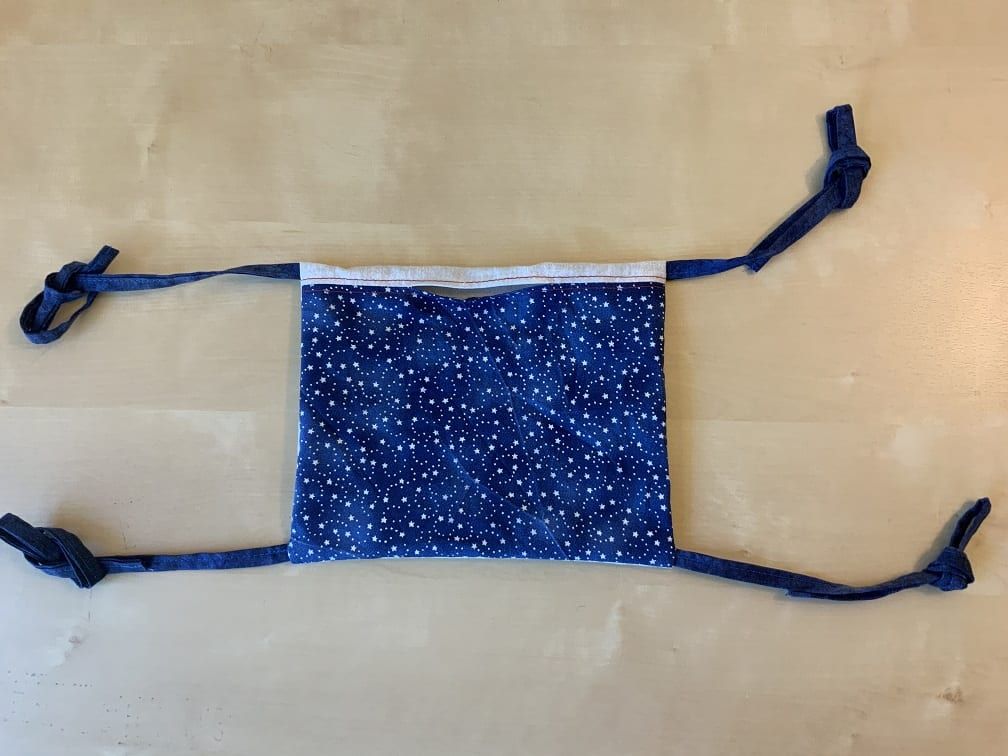
Pull on the straps to straighten the mask.
Tip: Iron the mask to make the edges sharper and easier to pleat.
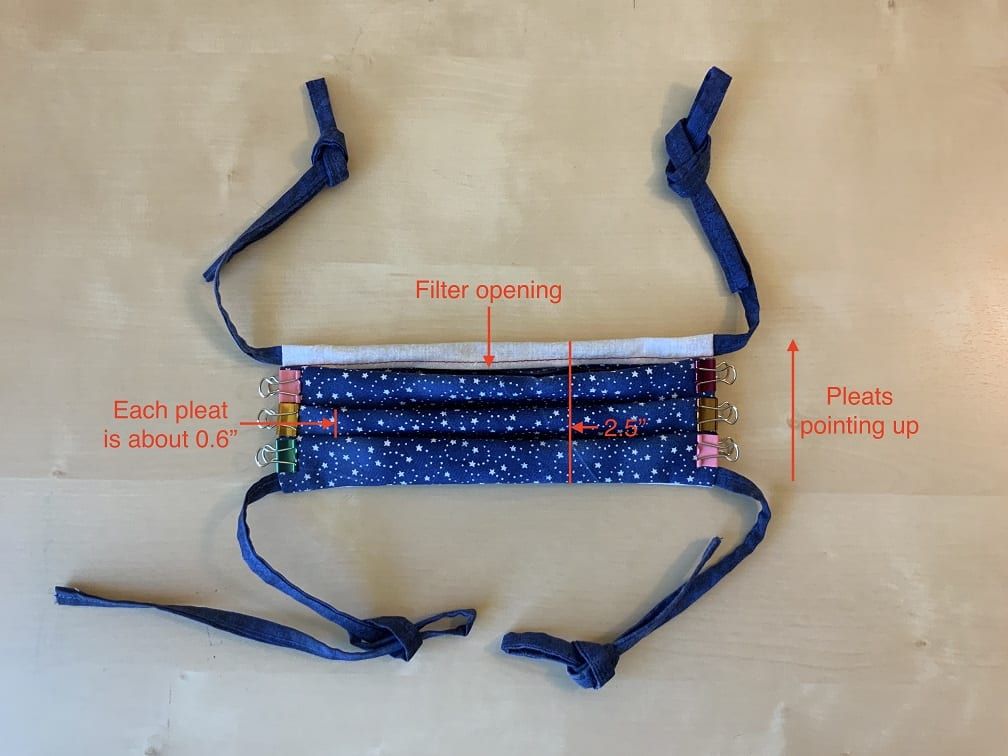
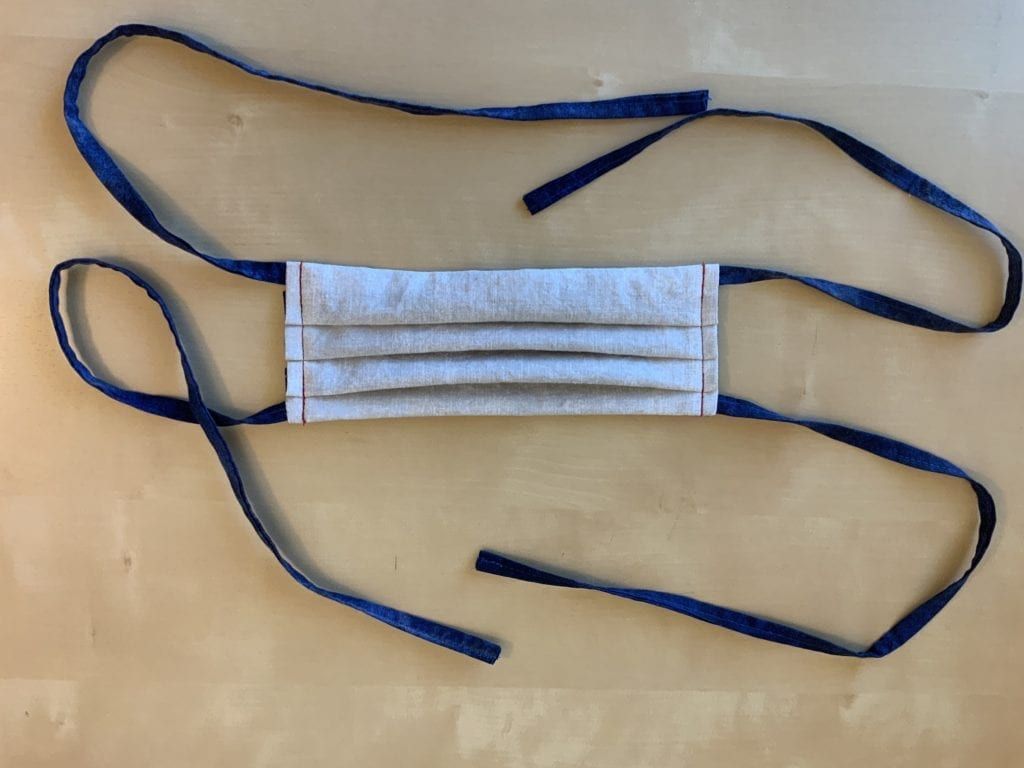
Position the mask with the filter opening visible. Fold and clip three ~9/16” pleats, with the pleats pointing up. Total height of the mask after pleating: ~ 2½”.
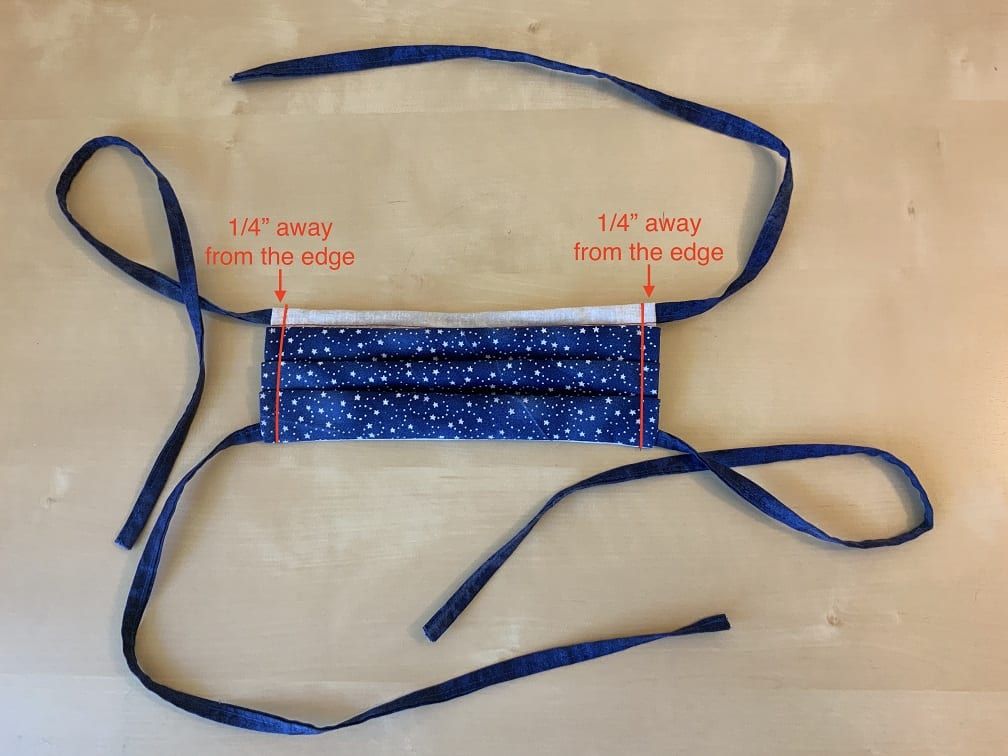
Sew two lines, each ¼” away from the short edge. If your machine is encountering resistance, try going slowly and manually turning the wheel.